
In a world of rushing water, there is nothing more frustrating than a leaky faucet in the bathroom. The incessant drip-drip-drip echoing in your ears, mocking your every effort to find solace. But fear not, for we have grasped the wrench of knowledge and are here to lead you through the labyrinth of faucet repair. Step by step, we shall dismantle the mysteries of plumbing and restore harmony to your troubled bathroom. Brace yourselves, for this journey shall be one of both triumph and tranquility.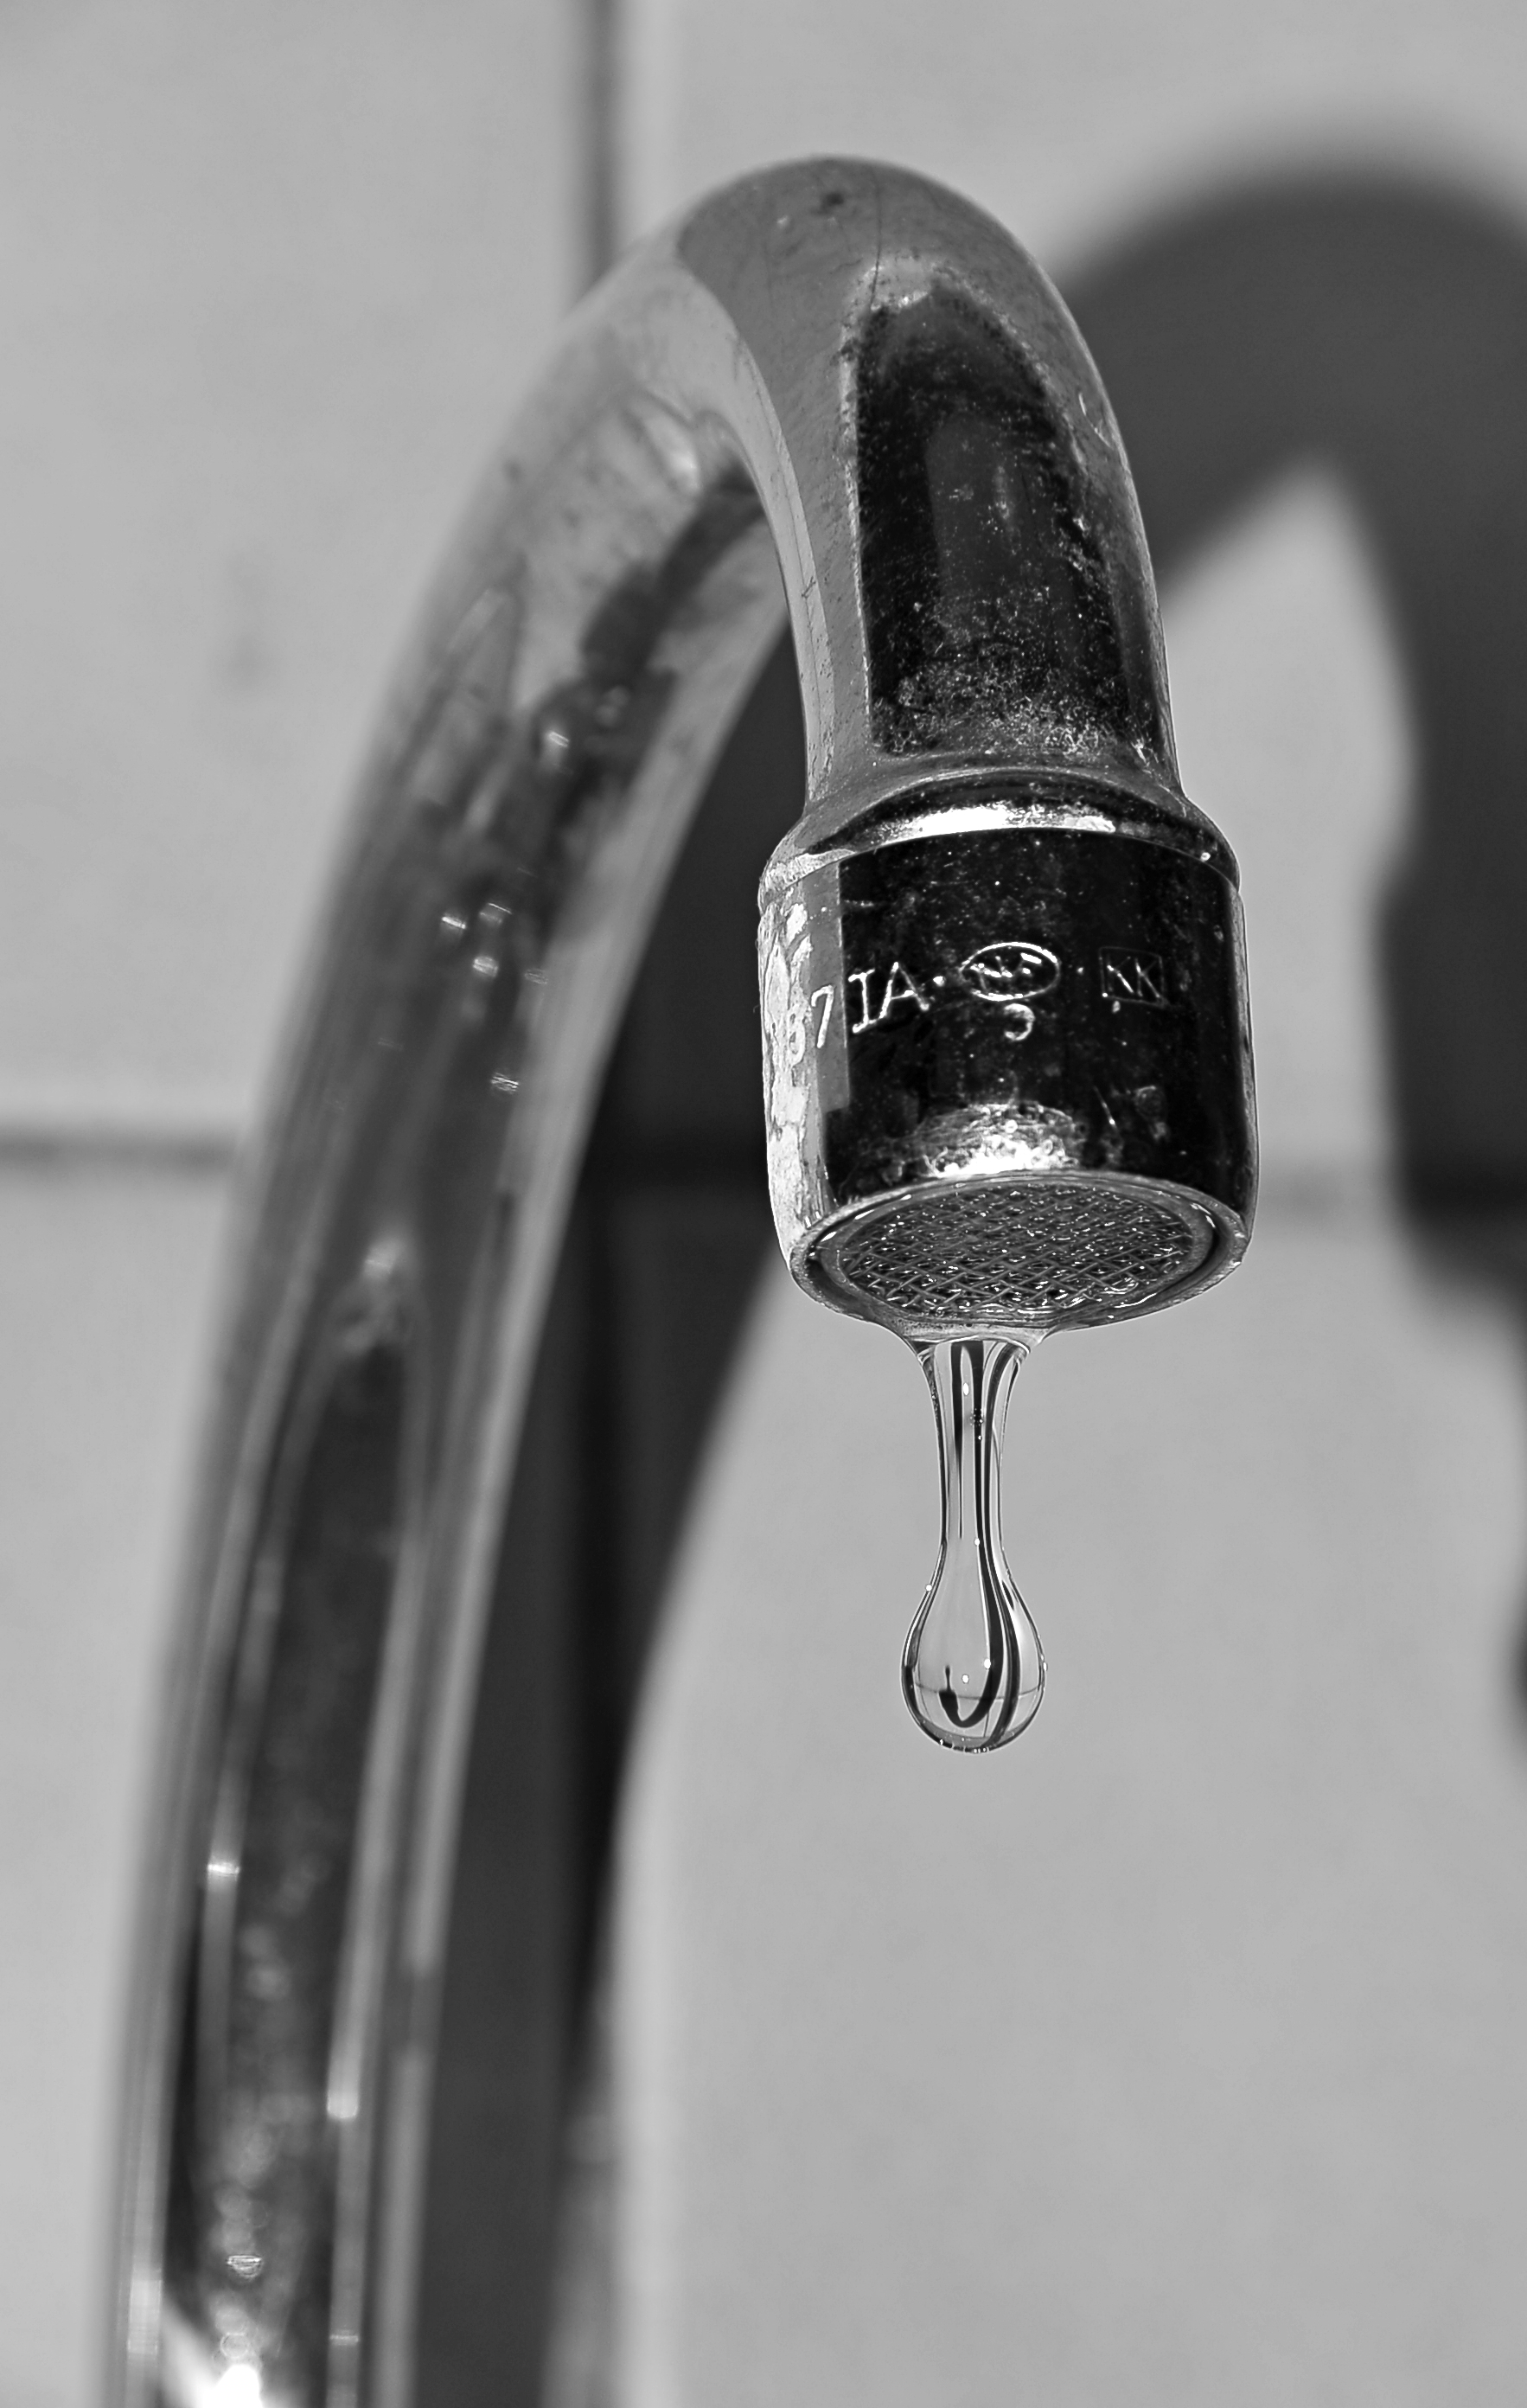
Preparation: Gathering the appropriate tools and materials for faucet repair

When it comes to faucet repair, having the right tools and materials on hand is essential. Before you begin, make sure to gather the necessary items to ensure a smooth and successful repair. Here are some tools and materials you may need:
– Adjustable wrench: This versatile tool is perfect for gripping and loosening various parts of the faucet.
– Screwdriver set: Different screws may need to be removed or tightened during the repair process, so having a set of screwdrivers with different sizes and types will come in handy.
– Plumber’s tape: This thin, waterproof tape is used to create a leak-proof seal between threaded pipe joints.
– Replacement parts: Depending on the issue with your faucet, you may need to replace certain components such as washers, O-rings, or cartridges. It’s always a good idea to have these on hand before starting the repair.
– Cleaning supplies: Before attempting any repairs, it’s important to clean the faucet thoroughly to ensure accurate diagnosis and to remove any built-up grime or debris that may be affecting its performance.
By gathering these tools and materials, you’ll be well-prepared for any faucet repair task that comes your way, ensuring a successful and lasting fix. So don’t forget to stock your toolbox with these essentials before getting started.
Diagnosis: Identifying the cause of the issue and understanding the underlying problem

During the diagnosis phase, our team of experts diligently examines all the available data and conducts thorough investigations to identify the cause of the issue at hand. We delve deep into understanding the underlying problem, leaving no stone unturned. By analyzing relevant information, conducting tests, and utilizing various diagnostic tools, we can pinpoint the root cause of the issue with precision. Our approach involves creating a comprehensive list of potential causes and then systematically eliminating each one until we arrive at the true culprit. This meticulous process allows us to provide accurate and reliable diagnoses, enabling us to devise effective solutions to resolve the problem swiftly and efficiently. Trust us to uncover the hidden complexities and unravel the mysteries that hinder smooth operations and impede progress.
Repair: Step-by-step instructions for fixing the faucet in the bathroom

In this step-by-step guide, we will walk you through the process of fixing the faucet in your bathroom. Follow these instructions carefully to ensure a successful repair:
1. Turn off the water supply: Before you begin any repairs, locate the shut-off valve under the sink and turn off the water supply to avoid any water leakage.
2. Remove the faucet handle: Start by removing the decorative cap on the handle, usually located at the top. Use a flathead screwdriver to unscrew the handle and carefully lift it off the stem.
3. Inspect the cartridge or valve: Once the handle is removed, you’ll find the cartridge or valve assembly inside the faucet body. Inspect it for any signs of damage or wear and tear.
4. Replace the damaged parts: If you find any damaged parts, carefully remove them using pliers or a wrench. Replace them with new ones that are compatible with your faucet model. It’s important to ensure a proper fit to prevent any leaks.
5. Reassemble the faucet: Once all the necessary repairs or replacements have been made, carefully reassemble the faucet in the reverse order. Make sure everything is tightly secured.
6. Test for leaks: With the faucet reassembled, turn on the water supply and test for any leaks. If you notice any, check for loose connections or faulty parts and make the necessary adjustments or replacements.
By following these step-by-step instructions, you will be able to fix your bathroom faucet with ease and have it working like new again! Remember, if you are unsure about any step or encounter unexpected difficulties, it’s always a good idea to consult a professional plumber for assistance.
Maintenance: Tips for ensuring long-lasting functionality and preventing future issues
Regular maintenance is key to ensuring the long-lasting functionality of any product or system. By following a few simple tips, you can prevent future issues and keep everything running smoothly. Firstly, make sure to clean and inspect your equipment regularly. Dust and debris can accumulate over time, leading to clogs and reduced efficiency. Additionally, check for any signs of wear and tear, such as loose wires or leaking fluids, and address them immediately. Secondly, remember to lubricate moving parts as needed. This will help reduce friction and extend the lifespan of your equipment. Lastly, invest in professional servicing at least once a year to catch any underlying issues and ensure that everything is in optimal condition. By following these maintenance tips, you can enjoy the benefits of long-lasting functionality and avoid unexpected breakdowns or repairs.
Wrapping Up
In conclusion, armed with the knowledge of how to repair a faucet step by step, you can now bid farewell to those irritating drips and leaks. Embrace the satisfaction of a functional bathroom oasis, where serenity is restored with every drop that falls. Remember, with a little patience and these simple techniques, you hold the power to solve any plumbing dilemma that comes your way. So, roll up your sleeves and become the master of your bathroom sanctuary once more!